Getting Started with Linux Mining
Welcome to the Hive!
Thank you for choosing to participate in the Gajumaru mining hive.
Please follow the steps below.
1. Configure your system for Erlang/ZX
Most of our software is written in Erlang. Similar to running Python or Java programs, to run Erlang programs you need an Erlang runtime available.
The community has created and is maintaining a GajuMine initial setup repository with system scripts and installation steps for several Linux distros here: Gajumaru Linux Setup
If your favorite distro or family is not listed, please take a look at the scripts and feel free to adapt them and consider adding a script for your favorite system and submitting it as an update.
If you are installing on your own and manage to get an Erlang runtime built or installed in your environment, the last piece of the puzzle is the ZX app system, which can be found here: ZX/Zomp Downloads
2. Run GajuDesk for the first time
If you followed the instructions in the community repo to add desktop launchers for GajuMine and GajuDesk, you can click those. If not, you can run GajuDesk from the command line by entering:
zx run gajudesk
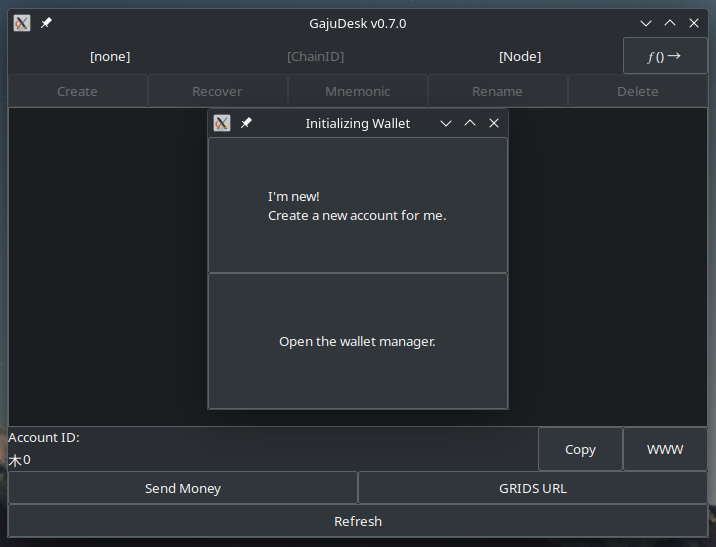
The first time GajuDesk is run it will offer to create a new default wallet and a new blockchain account for you.
Select the "I'm new!" option and let it set up a wallet and an account for you.
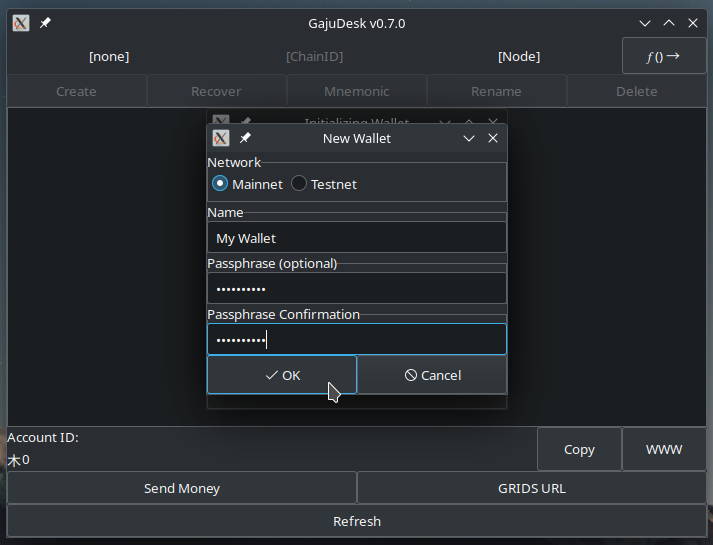
As part of the wallet creation routine it will ask you to provide a name for the wallet, and decide here whether
you want your wallet to be protected by a passphrase on disk or not.
We strongly recommend that you use a passphrase.
 Do not forget this passphrase! From now on every time you open your wallet you will need to provide your
passphrase in order for GajuDesk to be able to read your wallet!
Do not forget this passphrase! From now on every time you open your wallet you will need to provide your
passphrase in order for GajuDesk to be able to read your wallet!
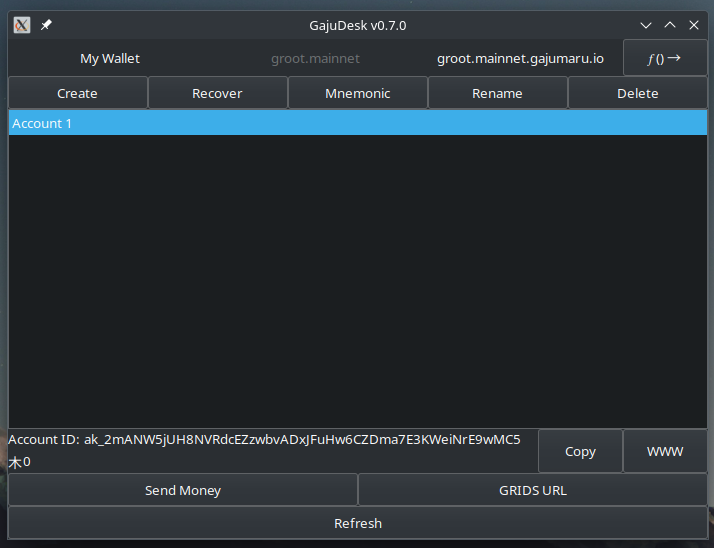
Here is how GajuDesk will look once you have completed the above steps:
3. SAVE YOUR RECOVERY PHRASE
At this point we need to save your mnemonic recovery phrase offline somewhere.
A mnemonic recovery phrase is a way that GajuDesk can encode your account key in a sequence of words.
Using the mnemonic recovery phrase you can import or transfer your account key to another wallet,
or recover it in the event that you accidentally delete your wallet or something happens to your computer.
WARNING: Your mnemonic recovery phrase is your private key. DO NOT LOSE IT.
WARNING: KEEP YOUR MNEMONIC RECOVERY PHRASE SECRET
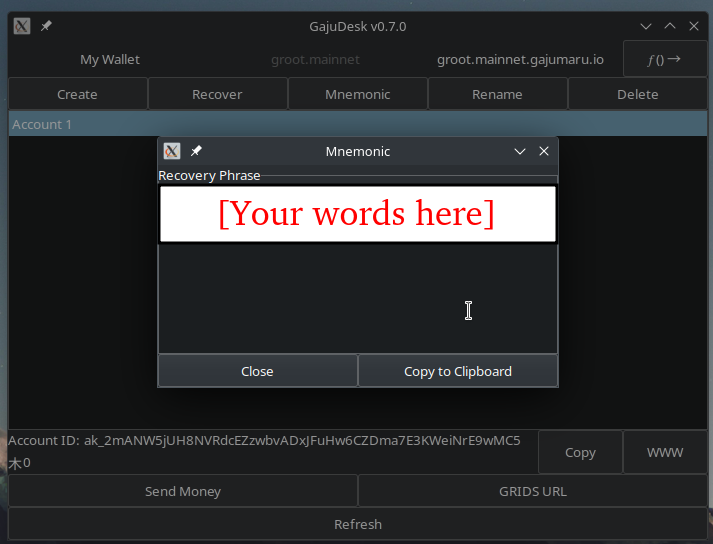
At the top of the GajuDesk main screen, right in the middle above your account (named "Account 1" by default) is a
button that says "Mnemonic".
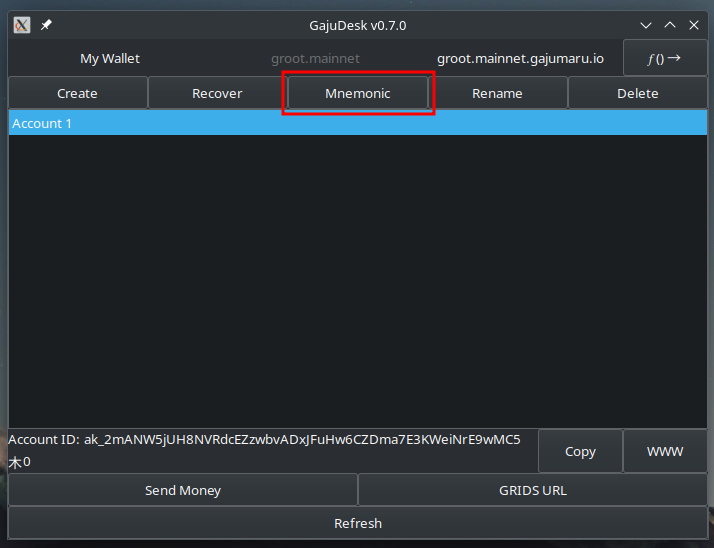 Click this button to bring up your mnemonic phrase in a pop-up window.
The window will look like the image below, with your words in the blocked-out part in red.
 We strongly recommend that you write down the words on paper,
but if you are concerned that you might not transcribe perfectly,
copy the phrase and paste it into a text document and print that out on paper.
We strongly recommend that you write down the words on paper,
but if you are concerned that you might not transcribe perfectly,
copy the phrase and paste it into a text document and print that out on paper.
We urge you to maintain a paper copy of your mnemonic phrase for several reasons. One reason is that the contents of your disk are subject to capture by your window manager's indexing services, or even being uploaded to any number of cloud services. Another reason is that in the event your computer's drive becomes corrupted it is possible that your key/accountID is simply lost forever if you do not save a copy of your mnemonic phrase somewhere. And a final reason is that at some point you are likely to want to transfer this account to another device, and the easiest way to do that is by using your mnemonic recovery phrase.
4. Log in to GajuMining.com
Now that you have created a Gajumaru account ID, you can log in to gajumining.com.
IMPORTANT!
Moving forward the assumption is that you arrived at gajumining.com by clicking the link in your mining welcome email.
If this is not the case, stop now, open your email, and open the site by clicking the link in your welcome email.
This is important because that link carries a code that links your purchase with your first login.
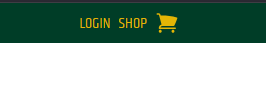
In the upper right of the site is a "LOGIN" link that looks like this:
Clicking that link will take you to a QR code based login screen with a GRIDS URL encoded on it.
In the lower right there is a clipboard icon (indicated with a red arrow in the image below).
 Click that clipboard link to copy the URL to your system clipboard.
Now return to GajuDesk and click the "GRIDS URL" button (toward the bottom right of the GajuDesk window).
You will be presented with an input field where you can paste the URL you copied from the site.
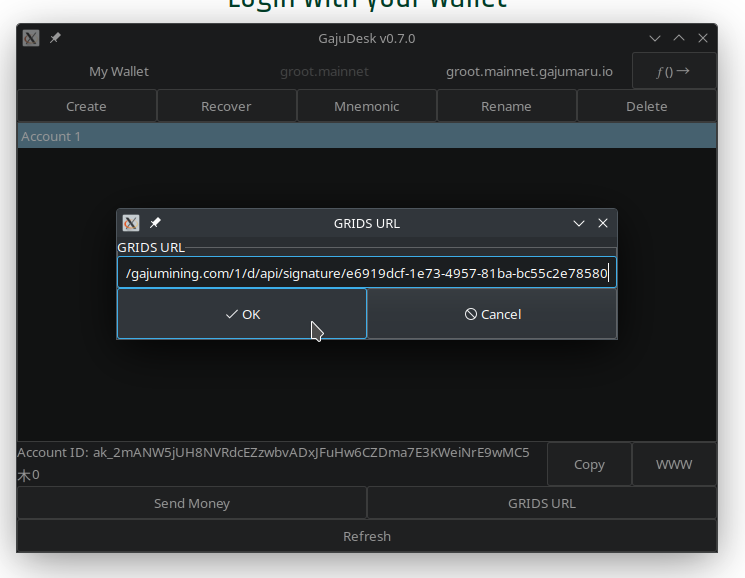
Click "OK" and GajuDesk will retrieve a login message from the server which now needs to be signed and returned.
The message will be shown to you by GajuDesk in a window that looks like this:
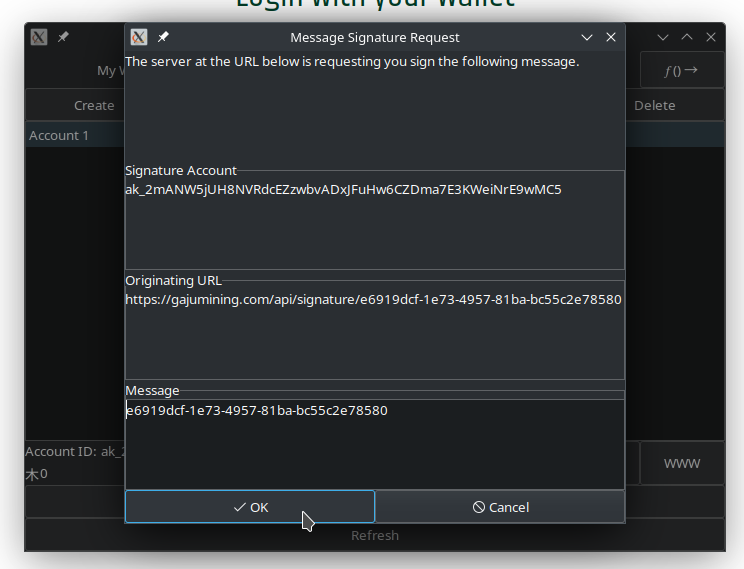 Click "OK" to sign the message with your account key and submit it to the site.
Once the signed message is submitted to the site, you will notice the gajumining.com site changes from the QR screen
to a logged in view.
Congratulations! You are now logged in and registered with the hive leader!
5. Configure GajuMine
Finally, the part you have been waiting for: GajuMine!
What we are going to do now is tell GajuMine which account(s) we are going to be mining on behalf of on this system.
Look at the main screen of the wallet, GajuDesk, and find the "Copy" button in the lower right (next to the account
balance and account ID display).
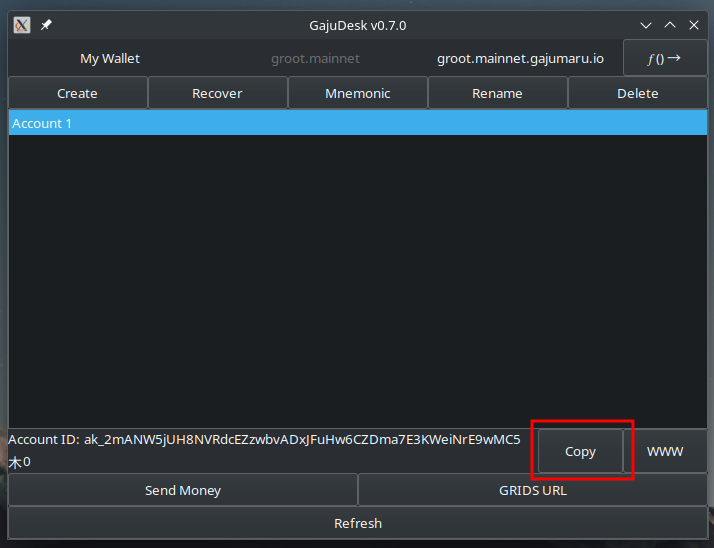 This will copy your account ID to the clipboard.
Now it is time to run GajuMine.
As with GajuDesk, if you have added the desktop links to run GajuMine, then click that desktop link.
If you are running from the terminal, then execute:
zx run qpq-gajumine
The first time you run GajuMine you will be presented with a configuration menu.
At the top of this menu is a field called "GajuMining Account ID".
Paste the account ID you copied from your GajuDesk wallet into this field and click "OK"
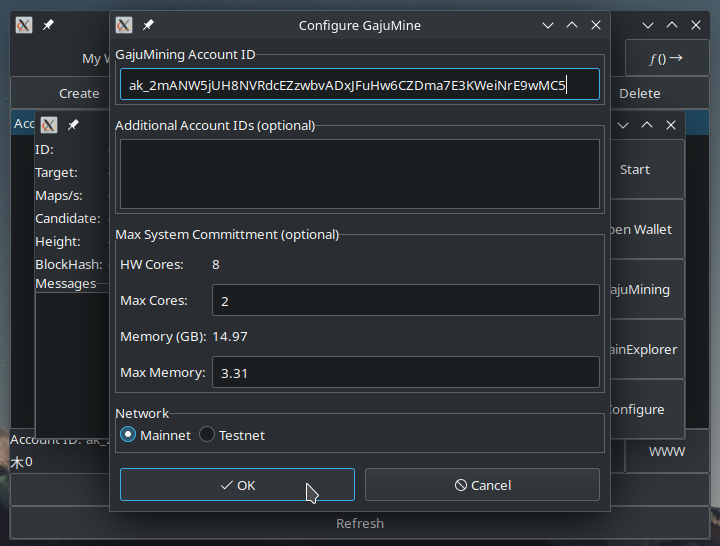 (If you have already run GajuMine out of curiosity and clicked away from this, don't worry, just click the "Configure"
button at the bottom right of the GajuMine screen and the configuration screen will open.)
(If you have already run GajuMine out of curiosity and clicked away from this, don't worry, just click the "Configure"
button at the bottom right of the GajuMine screen and the configuration screen will open.)
And that's it! GajuMine is now configured and you can click "Start" and GajuMine will begin mining.
6. Hi-ho, hi-ho, it's off to work we go...
Your freshly created Gajumaru account ID is now registered with the hive leader, GajuMine is configured with your account ID, and GajuMine is all set to go.
GajuMine will remember its configuration, so you do not need to repeat any of these steps unless you want to run GajuMine on multiple computers at the same time, or alter the configuration later.
From now on whenever you want to mine, you simply run GajuMine and click "Start" and it will start mining.
You can stop mining by simply closing GajuMine and it will stop all solvers.
In the event you want to run your computer constantly as a miner, 24 hours a day, you will need to configure the
system to not go into a "sleep" mode.
This is done in different ways on different distros, so consult your docs or community resources.
Thank you for joining the hive!